
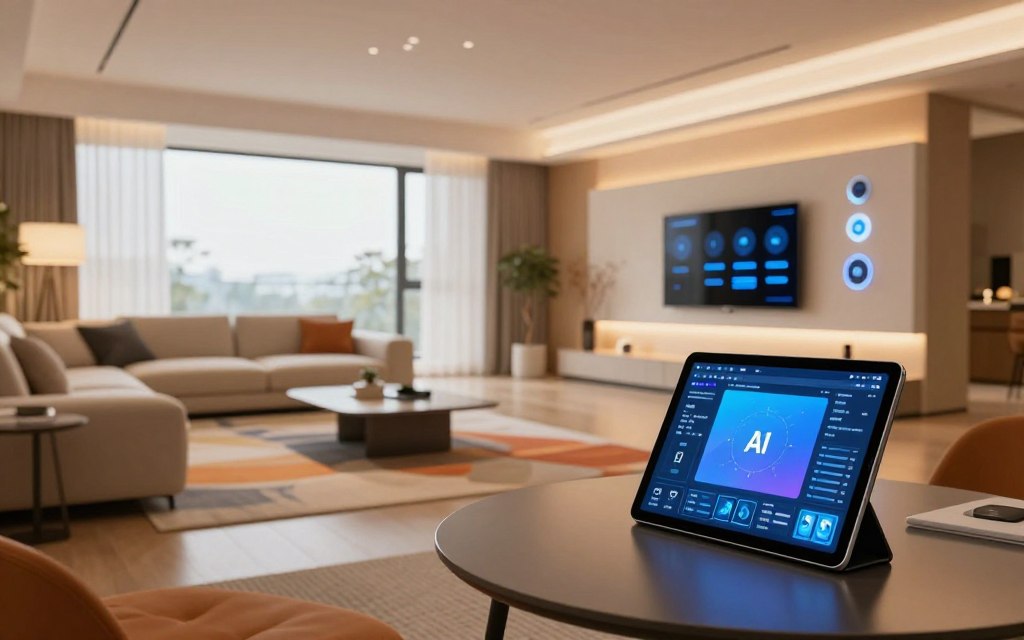

In today’s fast-paced world, artificial intelligence helps homeowners, renters, decorators, and design enthusiasts plan rooms. AI interior design lets you test room design ideas and view changes before buying anything. Learning how to use ai to design a room can help you explore styles and create plans quickly.
AI room design offers fast ideas and helps you picture different layouts. You can compare choices and improve your preferences, making planning more enjoyable. Still, AI supports planning; it cannot replace exact measurements or professional advice.
This article explains how to choose an AI tool, prepare room photos, define your style, and create concepts. It also shows how to refine your choices after reviewing each design. AI can create stunning visuals, but verify dimensions and furniture placement before implementation.
Key Takeaways
- AI simplifies room planning for various users.
- Visual experimentation allows for quick idea generation.
- AI aids in comparing layouts and styles effectively.
- Professional advice is still essential for accuracy.
- Verification of AI-generated designs is crucial before execution.
Why AI Is Changing the Way We Design Rooms
AI is transforming room design. These AI home design tools help users visualize spaces in ways that once seemed impossible. Instead of trial and error, homeowners can enjoy a virtual room makeover that brings ideas to life quickly.
AI also improves room visualization. Users can upload a room photo, describe a preferred style, and choose materials for realistic mockups within minutes. This lets them test modern, traditional, and minimalist designs without making immediate purchases.
AI tools connect inspiration images with actual spaces. They reveal combinations users may not have considered, saving time and effort during digital interior design. Yet image generators may misread room dimensions or suggest unavailable products, reducing design accuracy.
Despite these limits, AI can act as a creative partner during the design process. It speeds decisions but leaves final choices to the homeowner or a qualified design professional. These tools help users explain ideas to contractors or family members, creating a smoother process.
Explore how AI can support your design projects by visiting this resource.
Best AI Tools to Design a Room in 2025
In 2025, AI technology will change room design through innovative tools. These tools meet different needs, from homeowners wanting quick makeovers to professionals planning detailed layouts. Here is an overview of the best AI room design apps available this year.
- RoomGPT
- Pros: Easy to use, quick results, diverse design options.
- Cons: Limited customization options for advanced users.
- Planner 5D
- Pros: Highly customizable, realistic visualizations, user-friendly interface.
- Cons: Requires a learning curve for complex features.
- Homestyler
- Pros: Great for visualizing real spaces, easy to share designs.
- Cons: Limited features in the free version.
- SketchUp
- Pros: Powerful design capabilities, extensive library of models.
- Cons: May be overwhelming for beginners, subscription-based pricing.
This tool creates AI-generated room designs from user input. You can preview your space in many styles and themes.
This complete tool provides 3D modeling and floor planning features. It suits users who want to create detailed layouts.
This room makeover app uses photos to redesign spaces. Users can upload room images and preview possible changes.
Popular with professionals, SketchUp provides advanced 3D modeling tools for detailed designs. It suits architects and interior designers.
When choosing among AI interior design tools, consider your goals, technical comfort, and budget. Some create quick designs, while others support detailed planning and customization. Choose the tool that best fits your room design needs.
How to Use AI to Design a Room: Step-by-Step Guide
Learn how to design a room with AI and transform your space efficiently. Follow this five-step guide to plan your room. First, define your goals, room function, and preferred style.
Consider who will use the space, your budget, and your priorities. Prepare clear photos of the room and accurate dimensions. Remove clutter that might confuse the AI room planner, helping it create better results.
With your inputs ready, generate several virtual interior design concepts. Use varied presets and detailed prompts to create different options. Explore styles and layouts instead of choosing the first design.
Refine each concept by changing colors, materials, layouts, and furniture. Keep traffic paths and window locations in mind. Check dimensions and accessibility to ensure everything fits perfectly.
Finally, compare designs, save favorites, and export or share them. AI-generated visuals support decisions and work as mood boards. They help communicate your vision clearly to others.
With this structured room design workflow, you can create stunning interiors that reflect your personal style.
Step 1: Define Your Design Goals and Style Preferences
Clear design goals help you create your ideal space with AI. First, identify the room’s main function, users, uses, and storage needs. These details support informed decisions.
Next, consider comfort, maintenance, and accessibility. Do you prefer low-maintenance materials, or will you invest time in upkeep? Make sure everyone can use the room.
Take an interior design style quiz to clarify your preferences. Write a short design brief with preferred colors, disliked materials, existing furniture, and the desired mood. This brief guides your personalized room design project.
Set a realistic room makeover budget for furniture, paint, lighting, flooring, decor, delivery, and installation. Reserve extra money for unexpected expenses.
Lastly, create a digital mood board to visualize your ideas. Add reference images, fabric samples, color palettes, and furniture silhouettes. These elements create consistent AI prompts and help you check each design against your vision.
Step 2: Capture and Prepare Your Room Photos
Start your room photo preparation with clear, high-quality images. Sharp source photos help an AI room photo editor redesign your space more accurately.
Photograph the room during daylight hours. Natural light improves visibility and color accuracy. Stand near a corner or doorway to show the entire room.
Keep the camera level to prevent distortion. Include enough floor, walls, ceiling, windows, doors, and major architectural features.
Follow these interior design photo tips: take several photos from different angles. A wide-angle lens can help, but avoid extreme distortion. It may cause the AI tool to misread the room’s proportions.
Before uploading, remove temporary clutter, pets, people, loose cables, and objects you do not want in the design.
Do not hide permanent features, such as radiators, built-in shelving, or structural columns. These details help the AI create an accurate design. Also record room measurements, including wall lengths, ceiling height, window sizes, door openings, and furniture dimensions.
Clean photos support attractive visuals, while accurate measurements help prevent unrealistic layouts. Remember, “Good preparation leads to great results.” These steps create a strong foundation for your AI room design journey.
Step 3: Generate Your First AI Design Concepts
Starting with AI design concepts can open many possibilities for your room. This step lets you explore different styles and layouts. Describe your room clearly, including the desired style, color palette, materials, furniture type, lighting mood, and preferred level of minimalism or decoration.
Generate several concepts instead of refining one weak result. Ask the AI for room design variations that show layouts, color combinations, storage solutions, textiles, and focal points. Save your prompts and label each image to see which changes create the best results.
When writing your AI design prompts, remember that more adjectives do not always produce better results. Precise, organized instructions usually work better than vague descriptions. Check whether your tool supports negative prompts, image references, masking, or existing furniture preservation. These options can improve your generative interior design work and help you use AI room style presets.

Step 4: Customize Colors, Furniture, and Layouts
Customizing your room is a vital step in the AI-assisted interior design process. It lets you refine AI-generated concepts to match your style and practical needs.
Start with the layout and major furniture pieces. Use an AI furniture placement tool and furniture layout planner to test arrangements and room flow. Even the strongest AI concept may need several rounds of editing.
Next, try room color visualization. Test color temperatures and combinations to see how they change the room’s mood and comfort.
After choosing the layout and colors, explore interior materials visualization. Test textures and finishes for walls and floors to create a cohesive look.
Finally, consider lighting and accessories. They can enhance the design but should not hide blocked walkways or insufficient seating.
“Design is not just what it looks like and feels like. Design is how it works.” This quote by Steve Jobs shows why functionality matters.
Measure existing items accurately so the final visualization does not suggest needless replacements. AI can create attractive arrangements, but it may suggest impractical setups, such as oversized furniture or blocked pathways.
Step 5: Refine, Save, and Share Your Final Design
Refine, save, and share your final room design rendering with care. This process turns visual inspiration into an organized design reference.
Compare your original room with the selected AI concept. Note which changes are realistic, affordable, and suited to the room’s function. Save the prompt, style settings, source image, dimensions, color codes, product links, and revision notes.
Export high-resolution interior images for presentations. However, a high-resolution image does not guarantee technical accuracy. For a contractor-ready room concept, include measurements, material specifications, installation preferences, and any questions you may have.
For friends or family, focus on key choices, including storage, seating, lighting, and budget. This design presentation board makes your final AI image an effective communication tool. Review it with real samples, floor plans, and professional recommendations.
| Design Element | Considerations | Documentation |
|---|---|---|
| Colors | Match existing elements | Color codes |
| Furniture | Style and functionality | Product links |
| Layout | Space optimization | Dimensions |
| Lighting | Ambiance and utility | Installation preferences |
Inspiring AI Room Design Ideas for Every Space
Imagine AI bringing fresh life to your home through beautiful design ideas. It can create custom plans that match your lifestyle and preferences. Whether you explore living room AI design, AI bedroom design, or home office design ideas, you have many ways to personalize your space.
For small spaces, use prompts that focus on function. Use light colors, multipurpose furniture, and mirrors to improve storage, brightness, and the feeling of space. For example, a small bedroom can use a bed with built-in drawers and a light palette, making it feel open.
In larger rooms, try zoning to create functional areas. Use layered lighting and statement furniture to shape spaces for relaxation, work, or entertainment. An AI kitchen visualization can suggest contrasting materials and built-ins that match your design vision.
When using AI, match the design to your household’s needs. Consider durability for pets or children, maintenance needs, and how you entertain guests. If you often host gatherings, an open-plan layout with a central island can improve function and social interaction.
Combine your room type with design styles, color palettes, and existing pieces when writing effective AI prompts. This approach can create a cohesive look that reflects your personality and lifestyle. Start your AI journey today by exploring tools like RoomsGPT to bring your vision to life.
Common Mistakes to Avoid When Using AI for Room Design
When using AI for room design, learn its common pitfalls. Many users assume AI-generated images are fully feasible. Yet AI interior design mistakes often separate visual appeal from practical execution.
One major issue involves room design measurement errors. AI tools can create stunning visuals, but they may misread your space’s dimensions. Double-check measurements before making decisions based on AI designs.
Another key concern is realistic AI room planning. Designs that remove windows or change ceiling heights may look attractive but harm room function. Keep your space’s identity while exploring new ideas.
AI design limitations can also affect the result. AI cannot fully understand your preferences or which materials work best in your home. Compare AI suggestions with your experience and professional advice.
Finally, protect personal information when uploading photos to AI platforms. Review each platform’s privacy policies to help keep your data secure. Avoiding these common mistakes helps you use AI tools well during your room design journey.
Expert Tips to Maximize Your AI Design Results
Use professional AI interior design tips and advanced AI room prompts to unlock AI room design’s full potential. Start with clear, thoughtful instructions for the result you want:
- Define Clear Objectives: Start by outlining what you want from your design. Be specific about styles, colors, and functionality.
- Use High-Quality Reference Images: Providing AI tools with clear and relevant images can significantly enhance the design output.
- Name Essential Elements: Identify key features in your room that must remain unchanged, such as windows or structural elements.
- Adjust One Variable at a Time: To understand how changes affect the design, modify only one aspect, like color or layout, during each iteration.
- Review and Refine: Always perform a human review of the AI-generated designs to ensure comfort, proportion, and emotional connection.
Additionally, compare AI design tools to find better results. Some platforms excel in aesthetics, while others provide superior spatial control. For instance, a generative image tool might offer stunning visuals, while a dedicated floor-planning tool could enhance layout accuracy.
To keep your project organized, maintain a folder containing:
| Item | Description |
|---|---|
| Photos | Images of your space and inspiration. |
| Measurements | Dimensions of the room and furniture. |
| Prompts | Specific instructions for AI tools. |
| Iterations | Different design versions you explore. |
| Budget Notes | Costs associated with furniture and decor. |
Finally, stay updated on the latest in interior design technology. AI tools evolve rapidly, so check often for new editing features, image controls, and privacy settings. Blend creativity, technology, and human insight to create spaces that feel beautiful, functional, and inviting.
Conclusion
Using AI for room design opens many possibilities. This AI room design guide explains how to create a room design with AI, from purpose and style to budget. Accurate photos, measurements, and the right AI tool can produce several concepts for your final vision.
AI boosts creativity, speeds design, supports experiments, and helps you visualize ideas. AI cannot guarantee correct dimensions or construction feasibility, so follow best AI interior design practices. Use AI images as a foundation, compare designs, keep existing pieces, and test colors in natural light.
Begin by photographing one room, writing a brief design outline, and testing a careful prompt. Combine AI visualization, accurate information, and human creativity to achieve personalized home design that reflects your unique style. Embrace AI’s potential to transform your living spaces into beautifully designed environments.


 By
By